
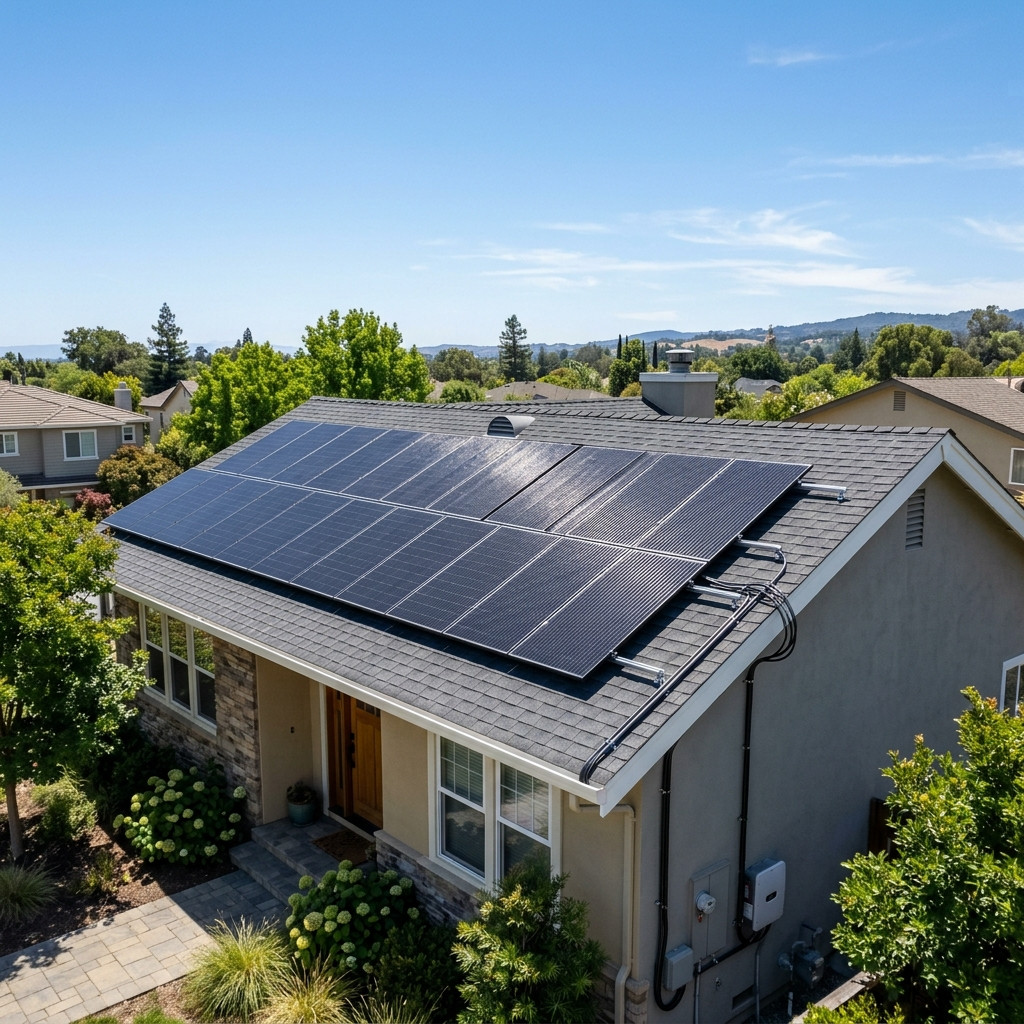
Setting up a solar power system for an off-grid living space or recreational vehicle can feel overwhelming. The most common question is straightforward: "How many solar panels do I need?" However, focusing solely on the physical number of panels often leads to system sizing mistakes.
To build a reliable power system, you must shift your focus from the physical count of the panels to the total wattage your system requires. A single large residential panel might provide the same energy as four smaller ones, but fitting it on a roof presents entirely different challenges.
This guide will walk you through the process of calculating your daily power consumption, translating those needs into solar wattage, and designing a system that fits your physical roof space.
Key Takeaways
- Focus on Wattage, Not Count: The total wattage of your solar array matters far more than the physical number of panels you install.
- Calculate First: Always determine your daily watt-hour usage before purchasing any solar equipment.
- Roof Space Dictates Design: Rooftop obstacles like vents, skylights, and air conditioners will ultimately limit your panel placement.
- Use Portable Add-ons: Portable ground panels are an excellent way to bypass roof space limitations and capture sun in shaded areas.
Calculate Your Off-Grid Daily Balance:
Match your daily appliance watt-hours against solar harvesting. Tally appliance loads with the RV Daily Power Calculator, and model your net battery autonomy with the Daily Solar Power Balance Calculator.
Panel Count vs. Total Wattage: The Core Distinction
When planning an off-grid solar setup, many beginners assume they need a specific number of panels, such as "three or four." In reality, solar panels come in a wide variety of physical sizes and power ratings, typically ranging from 50 watts to over 400 watts each.
If your daily power calculations show that you need 400 watts of solar power, you can achieve this in several ways. You could install four 100-watt panels, two 200-watt panels, or one single 400-watt panel. Each option has distinct advantages regarding installation complexity, wiring, and roof space utilization.
Understanding the relationship between physical size, rated output, and electrical characteristics is crucial. For a deeper look into these metrics, read our comprehensive guide on RV Solar Panels Explained: Watts, Voltage, Current and Output.
Step 1: Calculate Your Daily Watt-Hour Usage
Before you can determine your solar panel needs, you must know how much electricity your living space consumes in a typical 24-hour period. This is measured in watt-hours (Wh).
To find this number, list every electrical appliance you plan to run, its power draw in watts, and the number of hours you will use it each day. Multiplying the watts by the hours gives you the daily watt-hours for that appliance.
For example, if you run a 60-watt laptop charger for 4 hours, it consumes 240 watt-hours (60W x 4h = 240Wh). Summing these numbers across all devices—including lights, water pumps, fans, and refrigerators—gives you your total daily energy footprint. For a step-by-step walkthrough of this calculation, check out our guide on How to Calculate Your RV's Daily Watt-Hour Usage.
Step 2: Translate Daily Watt-Hours into Solar Wattage
Once you have your total daily energy consumption, you need to calculate the solar panel wattage required to generate that amount of power. This calculation depends heavily on geographic location and weather, which dictate "peak sun hours."
A peak sun hour is not just an hour of daylight; it is an hour during which solar intensity reaches an average of 1,000 watts per square meter. In most parts of North America, you can expect an average of 4 to 5 peak sun hours per day, though this drops significantly in the winter.
To find your required solar wattage, divide your daily watt-hour needs by your estimated peak sun hours, then add a safety buffer to account for system inefficiencies. Solar systems experience natural losses due to wire resistance, dust on panels, and inverter conversion processes.
| Daily Need (Wh) | Peak Sun Hours | Raw Wattage Needed | With 30% Buffer |
|---|---|---|---|
| 1,000 Wh | 5 Hours | 200 Watts | 260 Watts |
| 2,000 Wh | 5 Hours | 400 Watts | 520 Watts |
| 3,000 Wh | 4 Hours | 750 Watts | 975 Watts |
Step 3: Factor in Roof Space Constraints
You might calculate that you need 800 watts of solar power, but your roof layout will ultimately dictate whether you can physically install that much capacity. Rooftops on mobile dwellings and cabins are rarely wide, flat, unobstructed surfaces.
Air conditioning units, ventilation fans, plumbing vents, skylights, and television antennas create physical barriers. Additionally, these raised objects cast shadows. A shadow covering even a small portion of a solar panel can significantly reduce the output of the entire string.
Before buying panels, physically climb up and measure the usable, flat areas of your roof. Map out these dimensions on graph paper. You may find that two large 200-watt panels fit perfectly around your vents, whereas four smaller 100-watt panels would be impossible to arrange without shading issues.

Step 4: Choosing the Right Panel Sizes
Once you know your target wattage and your physical space constraints, you can choose the physical dimensions and capacities of your panels. This step requires balancing cost, installation complexity, and efficiency.
Using fewer, higher-wattage panels (such as 200W or 300W units) means fewer mounting brackets, fewer holes in your roof, and less wiring to manage. This simplifies the installation process and reduces the number of potential leak points on a rooftop.
However, smaller 100-watt panels offer more layout flexibility. If your roof is highly fragmented by vents and skylights, scattering several small panels across the remaining open spaces may be your only option to reach your target wattage.
The Portable Add-on Strategy
If your roof space is too limited to accommodate your calculated solar needs, or if you prefer to park your dwelling in the shade to keep it cool during hot summer days, portable solar panels are an excellent solution.
Portable solar suitcases can be set up on the ground using integrated kickstands. They connect to your main battery bank via a dedicated external port. This setup allows you to park your living space under a shady tree while placing the portable panels thirty feet away in direct sunlight.
Mixing roof-mounted panels with a portable ground array offers the best of both worlds. The rooftop panels continuously trickle-charge your batteries while you are traveling or away, while the portable panels provide a significant boost when you set up camp in challenging terrain.
Real-World Sizing Scenarios
To help visualize how these calculations translate to actual setups, let us look at three common user profiles and their typical solar configurations.
The Minimalist (200W to 300W)
This setup is ideal for those who use very little electricity. Typical appliances include LED lighting, a water pump, a small exhaust fan, and chargers for phones and tablets. A system of this size easily fits on almost any roof, typically consisting of two 100-watt panels or one 200-watt panel.
The Moderate Dweller (400W to 600W)
This is the sweet spot for most off-grid living. It easily powers a 12V compressor refrigerator, laptops, a television, fans, and occasional water pump usage. This setup usually consists of two or three 200-watt panels and requires a moderate amount of clear roof space.
The Heavy User / Off-Grid Office (800W to 1200W+)
If you run a residential-style refrigerator, a microwave, induction cooktops, or even a highly efficient mini-split air conditioner, you will need a substantial solar array. This setup requires significant roof real estate and often utilizes large, high-efficiency residential solar panels combined with a large lithium battery bank.
Maintaining Balance in Your Solar System
Solar panels do not operate in a vacuum. Simply mounting 600 watts of panels on your roof will not provide reliable power if the rest of your system is undersized. Your solar array must be paired with an appropriately sized charge controller and battery bank.
If your battery bank is too small, it will reach full charge quickly, and any additional solar power generated during the day will be wasted. Conversely, if your battery bank is massive but your solar array is too small, your panels will struggle to fully recharge the batteries, leading to premature battery degradation.
As a general rule of thumb, aim for at least 100 to 200 watts of solar power for every 100 amp-hours (Ah) of lithium battery capacity. If you are using older lead-acid batteries, you may need to adjust this ratio to account for their slower charging profiles and lower depth of discharge limits.
Frequently Asked Questions
Can I mix different sizes of solar panels on my roof?
Yes, but you must be careful with how they are wired. If you connect panels with different voltages or amperages in series or parallel without matching their electrical characteristics, you can significantly reduce the efficiency of your entire system. Using a multi-channel charge controller or separate controllers for different panel groups is often the safest approach.
Do solar panels work on cloudy or overcast days?
Solar panels still produce electricity on cloudy days, but their output drops significantly. Depending on the density of the cloud cover, panels may only produce 10% to 25% of their rated capacity. If you live in an area with frequent overcast weather, you should oversize your solar array to compensate for these lower production days.
Can I run an air conditioner directly from my solar panels?
It is virtually impossible to run an air conditioner directly from solar panels without a battery bank acting as a buffer. Air conditioners require a massive surge of current to start their compressors, which solar panels alone cannot provide. You need a robust battery bank and a high-output inverter to handle the load, using the solar panels to continuously replenish the batteries.
Is it better to mount panels flat or use tilting brackets?
Mounting panels flat on your roof is the most convenient and secure option. However, tilting your panels toward the sun can increase their daily energy output by up to 30%, especially during the winter when the sun sits lower on the horizon. The downside is that you must physically climb onto the roof to adjust the tilt angles whenever you park.
Final Thoughts on System Sizing
Determining how many solar panels you need is a highly personalized calculation. By focusing on total wattage rather than physical panel count, you can design a system that matches both your daily energy consumption and the physical constraints of your rooftop.
Start by auditing your power needs, measure your available roof space, and do not hesitate to use a portable solar panel to supplement your system when space is tight. With a balanced, well-planned system, you can enjoy reliable, clean energy wherever your off-grid journey takes you.