
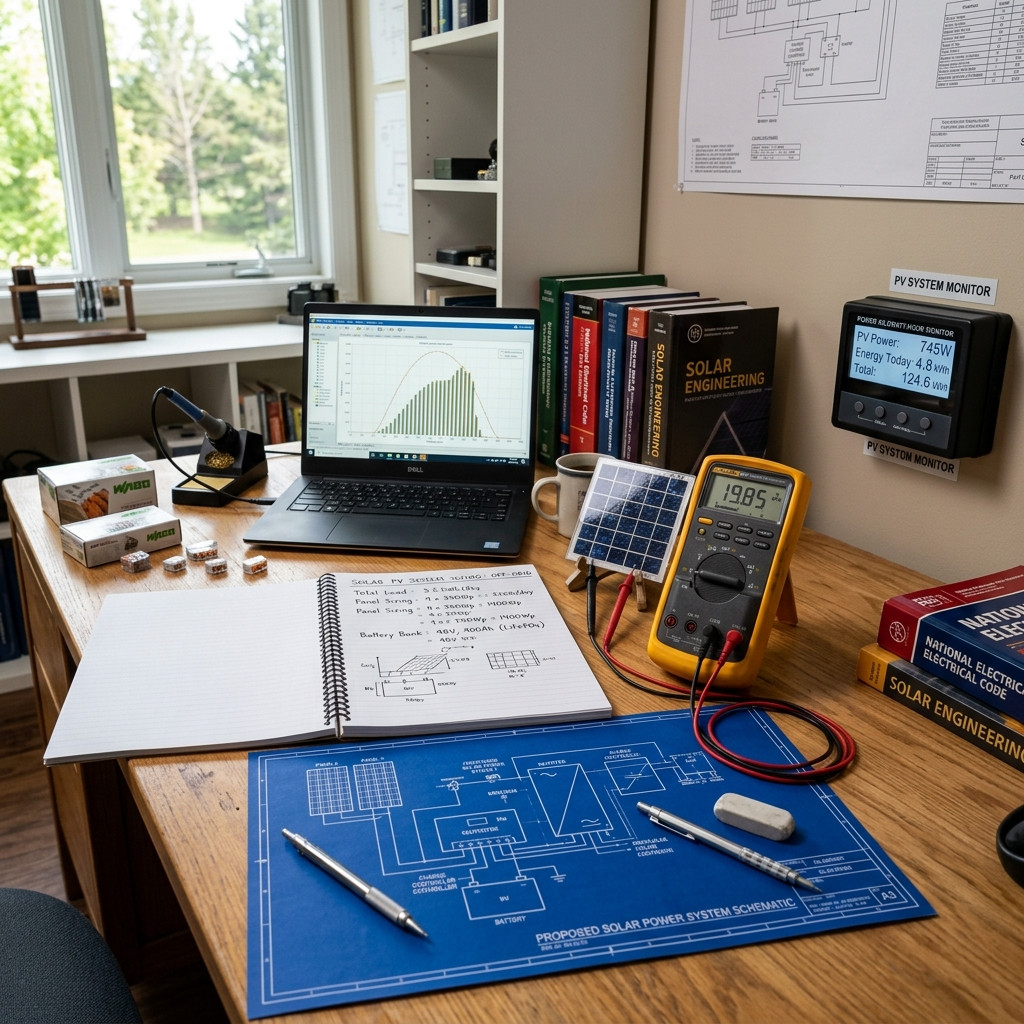
Living off the grid in a mobile dwelling or stationary cabin offers a level of freedom that traditional homes simply cannot match. However, that freedom relies entirely on your ability to generate and store your own electricity. Without a properly sized power system, a dream of quiet, self-sufficient living can quickly turn into a frustrating cycle of dead batteries and dead silence.
Planning to Run Heavy Loads or Rooftop AC?
Don't guess compressor start surges or blow your main battery fuses. Use our interactive RV Air Conditioner Runtime Checker to calculate runtime and test surge feasibility, and size your high-amperage cables with the Inverter Fuse & Breaker Sizer.
When planning an off-grid electrical setup, the most common question is: "How many watts of solar do I actually need?" Many people guess, buying pre-packaged kits that are either far too small for their daily needs or unnecessarily large and expensive. Sizing your system correctly requires matching your daily energy consumption with the realistic output of solar panels under real-world conditions.
Key Takeaways
- Calculate First: Never buy solar panels before calculating your daily watt-hour (Wh) consumption.
- Peak Sun Hours Matter: Daylight hours do not equal peak production hours; most regions only average 3 to 5 peak sun hours per day.
- Account for Losses: Real-world factors like heat, shading, and system inefficiencies reduce panel output by 20% to 30%.
- Match Your Battery: Your solar array must be large enough to fully recharge your battery bank within your average daily peak sun window.
Step 1: Calculate Your Daily Energy Consumption
Before you can size a solar array, you must determine exactly how much energy your living space consumes in a 24-hour period. This is measured in watt-hours (Wh). Every appliance in your dwelling has a power rating listed in watts, which tells you how much energy it uses per hour of continuous operation.
To find your daily consumption, multiply the wattage of each appliance by the number of hours you run it each day. For example, if you run five 10-watt LED lights for 4 hours, that consumes 200 watt-hours (5 x 10W x 4h = 200 Wh). If you run a 60-watt 12V refrigerator that cycles on for a total of 10 hours a day, it consumes 600 watt-hours.
If you are unsure of how to gather these numbers or want a structured way to compile your energy profile, you can learn How to Calculate Your RV's Daily Watt-Hour Usage. Getting this baseline correct is the single most important step in the entire design process. Underestimating your usage at this stage will result in an underpowered system that leaves you in the dark.
Step 2: Understand Peak Sun Hours
One of the most common mistakes in solar design is assuming that if the sun is in the sky for 10 hours, your panels will produce their maximum rated power for 10 hours. In reality, solar panels require direct, perpendicular sunlight to reach their rated output.
To simplify calculations, solar engineers use a metric called "peak sun hours." A peak sun hour is defined as any hour where the solar intensity reaches 1,000 watts of energy per square meter of surface area. During the early morning and late afternoon, the sun sits at an angle, passing through more atmosphere and delivering significantly less energy. These partial hours are combined mathematically to equal a specific number of "peak" hours.
Depending on your geographic location and the season, your average peak sun hours will vary dramatically:
- Summer (Southern US / Desert): 5.5 to 6.5 peak sun hours per day.
- Summer (Northern US / Canada): 4.0 to 5.0 peak sun hours per day.
- Winter (Southern US): 3.5 to 4.5 peak sun hours per day.
- Winter (Northern US / Canada): 1.5 to 2.5 peak sun hours per day.
When sizing your system, it is safest to design around the lower end of the sun hours you expect to encounter during your heaviest usage season. If you plan to live in your dwelling year-round, you should size your system based on winter sun hours to ensure you do not run out of power during the darkest months of the year.
Step 3: The Base Sizing Formula
Once you have your daily energy consumption in watt-hours and your local peak sun hours, you can calculate your baseline solar panel wattage. The fundamental formula is straightforward:
Daily Energy Requirement (Wh) / Peak Sun Hours = Base Solar Wattage (W)
Let’s look at a practical example. Suppose your off-grid living space consumes 2,000 watt-hours of electricity per day. You plan to use the system in an area that averages 4 peak sun hours per day during your stay.
2,000 Wh / 4 hours = 500 Watts
Under mathematically perfect conditions, a 500-watt solar array would generate exactly enough power to cover your 2,000 Wh daily usage. However, perfect conditions do not exist in the real world. To prevent your system from failing, you must factor in environmental and systemic losses.
Step 4: Factoring in Real-World Solar Losses
A solar panel rated for 100 watts will rarely output 100 watts in a real-world installation. Laboratory testing occurs under Standard Test Conditions (STC), which include a cell temperature of 25°C (77°F) and perfect light alignment. On a typical rooftop, several physical factors degrade this performance.
The Impact of Heat (Temperature Coefficient)
Solar panels perform less efficiently as they get hotter. On a hot summer day, roof-mounted panels can easily reach temperatures exceeding 140°F (60°C). Depending on the quality of the panel, this heat buildup can cause a 10% to 15% reduction in total power output. Keeping panels raised slightly off the roof surface allows airflow to mitigate some of this heat loss.
Angle and Shading Inefficiencies
Unless you have an active tracking system that tilts your panels to follow the sun, your panels will sit at a fixed angle. Flat-mounted panels on a roof miss out on optimal solar angles, especially during the morning, evening, and winter months. Furthermore, even minor shading from a nearby tree branch, a roof vent, or an air conditioning unit can drop the output of an entire string of panels by 50% or more.
System and Conversion Losses
The power generated by your panels must travel through wiring, pass through a charge controller, enter your battery bank, and often go through an inverter to power 120V household appliances. Each of these steps loses energy in the form of heat:
- Wiring Voltage Drop: 1% to 3% loss.
- MPPT Charge Controller: 2% to 5% loss.
- Battery Charge Efficiency: 1% to 3% for Lithium, 15% to 20% for Lead-Acid/AGM.
- Inverter Conversion: 10% to 15% loss when converting DC to AC.
Applying the 30% Buffer Rule
To ensure your system actually delivers the power you calculated in Step 3, you must add a safety margin. A standard industry practice is to add a 30% buffer to your base wattage calculation to compensate for these unavoidable real-world losses. To understand how these physical properties govern your daily generation, you can read our detailed breakdown of RV Solar Panels Explained: Watts, Voltage, Current and Output.
Applying this 30% buffer to our previous 500-watt calculation:
500 Watts x 1.30 = 650 Watts
By installing 650 watts of solar panels instead of the theoretical 500 watts, you ensure your battery bank receives its necessary charge even on warm, slightly hazy, or imperfectly angled days.
Step 5: Matching Solar Watts to Battery Capacity
Your solar panels do not power your appliances directly; they act as a battery charger. Therefore, your solar array must be sized in harmony with your battery bank. If your solar array is too small, it will take days to fully recharge your batteries, leaving them in a chronically discharged state that can destroy lead-acid chemistry and leave you without power at night.
A good rule of thumb for lithium (LiFePO4) batteries is to have a 1:1 or 2:1 ratio of solar wattage to battery amp-hours (at 12V). For example, if you have a 200Ah 12V lithium battery bank, you should pair it with at least 200 to 400 watts of solar panels.
| Battery Bank Capacity (12V) | Usable Energy (Wh) | Recommended Solar Array (Watts) | Target Daily Yield (4 Sun Hours) |
|---|---|---|---|
| 100Ah Lithium (or 200Ah AGM) | 1,280 Wh | 200W - 300W | 800 Wh - 1,200 Wh |
| 200Ah Lithium | 2,560 Wh | 400W - 600W | 1,600 Wh - 2,400 Wh |
| 400Ah Lithium | 5,120 Wh | 800W - 1,200W | 3,200 Wh - 4,800 Wh |
| 600Ah Lithium | 7,680 Wh | 1,200W - 1,800W+ | 4,800 Wh - 7,200 Wh+ |
Sizing Scenarios: Which Category Do You Fit?
To help visualize what these numbers look like in practice, let’s explore three common off-grid living scenarios. This allows you to match your intended lifestyle with a realistic solar footprint.
The Minimalist Setup (100W to 200W)
This setup is designed for those who live simply. You rely on propane for heating, cooking, and refrigeration. Your electrical needs are limited to basic overhead LED lighting, running a water pump occasionally, charging mobile phones, and perhaps running a small 12V roof fan on warm nights.
A single 100W to 200W panel is highly affordable, easy to install, and can easily keep a single 100Ah battery topped off during the spring and summer months. This is an excellent entry-level setup for weekend trips or basic off-grid cabins.
The Moderate Setup (400W to 600W)
This is the most common setup for long-term off-grid living. At this level, you are likely running a highly efficient 12V compressor refrigerator, charging multiple laptops, running ventilation fans continuously, using a water pump, watching television, and occasionally running a small household appliance like a blender or sewing machine through a medium-sized inverter.
A 400W to 600W solar array, paired with 200Ah to 300Ah of lithium battery storage, provides a comfortable balance of power. It offers enough headroom to get you through a cloudy day or two without requiring you to constantly monitor your monitor panel.
The Heavy / Residential-Style Setup (800W to 1,200W+)
This tier is for those who want to bring all the comforts of a modern residential home into their off-grid dwelling. You want to run a microwave, an electric induction cooktop, a residential coffee maker, a hairdryer, and perhaps even a highly efficient mini-split air conditioner during the hottest hours of the afternoon.
To support this lifestyle, you need a massive solar array of 800 to 1,200 watts (or more) coupled with a large 400Ah to 600Ah lithium battery bank and a 3,000-watt pure sine wave inverter. This setup requires substantial roof space, and many users choose to augment their roof panels with portable ground-standing panels that can be angled directly toward the sun.
Practical Strategies to Maximize Your Solar Wattage
Simply buying more panels isn't the only way to ensure your system meets your daily needs. You can optimize your physical setup to squeeze every possible watt out of your array:
- Upgrade to an MPPT Controller: Maximum Power Point Tracking (MPPT) charge controllers are up to 30% more efficient than older Pulse Width Modulation (PWM) controllers. They actively adjust the voltage and current to harvest the maximum power possible, especially in cold or overcast conditions.
- Keep Panels Clean: Dust, pollen, bird droppings, and fallen leaves act like tiny shade barriers. Clean your panels with fresh water and a soft microfiber cloth every few weeks to prevent a 5% to 10% drop in daily production.
- Use Portable Panels in Winter: Roof-mounted panels sit flat, which is highly inefficient when the winter sun sits low on the horizon. Using a portable solar suitcase allows you to place panels on the ground and angle them perfectly toward the sun throughout the day.
Sizing Your System Correctly
Determining your ideal solar wattage is a matter of basic physics and energy balancing. By calculating your true daily watt-hour consumption, understanding your local peak sun hours, and adding a 30% safety margin for real-world losses like heat and shading, you can design a system that keeps your batteries healthy and your lights on.
Take the time to measure your power usage before making any purchases. Sizing your system correctly the first time saves you from the frustration of dead batteries in the middle of the night, ensuring your off-grid dwelling remains a comfortable, reliable place to live.
Frequently Asked Questions
Can I mix different wattage solar panels on the same system?
Yes, but you must be careful with how they are wired. If you connect panels of different wattages in series, the system's overall current (amperage) will be limited to the lowest-performing panel in the string, which wastes significant power. If you must mix different panel sizes, it is usually best to wire them in parallel (matching their voltage) or use separate charge controllers for each panel size.
Is 400 watts of solar enough to run an air conditioner?
Generally, no. A typical small air conditioning unit draws between 800 and 1,500 watts of continuous power. A 400-watt solar array only produces about 1,600 to 2,400 watt-hours of total energy per day under ideal conditions, which would run an air conditioner for less than two hours before completely draining your batteries. Running air conditioning off-grid requires a minimum of 800W to 1,200W of solar and a massive lithium battery bank.
What happens to my solar panels on a cloudy day?
Solar panels still generate electricity on cloudy or overcast days, but their output drops significantly. Depending on the density of the cloud cover, your panels will produce only 10% to 25% of their rated capacity. This is why having an adequately sized battery bank and a 30% solar buffer is critical to carry you through periods of poor weather.
Do I need more solar panels if I switch to lithium batteries?
No, switching to lithium batteries actually makes your existing solar panels more effective. Lithium batteries are roughly 99% efficient at accepting a charge, compared to lead-acid batteries which waste 15% to 20% of incoming solar energy as heat during the charging cycle. Upgrading your storage allows your panels to charge your system faster and more efficiently.