
When shopping for a modern recreational vehicle or off-grid towable home, you will almost certainly encounter a bright sticker near the entry door or on the battery box proudly declaring the unit to be "Solar Ready." To many buyers, this label conjures up images of clean, silent, free electricity ready to power their appliances the moment they drive off the dealership lot.
Unfortunately, the reality behind that sticker is often far less complete. In the manufacturing industry, "solar ready" or "prewired" simply means that a few feet of copper wire have been run through the walls during assembly. It does not mean you have a functional solar power system.
Understanding exactly what is included in a factory prewired setup—and, more importantly, what is missing—is essential to avoid damaging your electrical system. This guide will demystify factory solar prep, explain the physical wiring hidden behind your walls, and show you how to safely upgrade a prewired dwelling into a fully functional off-grid power plant.
Key Takeaways
- It is not a complete system: A "solar ready" RV contains no solar panels, no charge controller, and no inverter. It is simply raw copper wire.
- Watch out for the "hidden loop": Many factory prewires run a continuous wire from the roof to the battery but loop it behind a wall. You must cut this loop and install a charge controller before connecting panels.
- Wire gauge limits expansion: Most factory prewires use 10 AWG wire, which limits your total solar array capacity unless you wire your panels in series to increase voltage.
- Check your polarity: Side-mounted ports for portable panels often use proprietary wiring configurations that can damage your batteries if connected to third-party panels without an adapter.
The Marketing Myth vs. Reality of "Solar Ready"
To understand factory prewiring, it helps to use an analogy. Buying a "solar ready" mobile dwelling is very similar to buying a home that is "cable ready." The builder has run coaxial cable through the drywall to a central utility box, but they have not provided you with a television, a cable box, or an active subscription to a streaming service.
In the same way, a solar-ready system is a structural convenience, not an active power source. The manufacturer has saved you the difficult, invasive labor of drilling holes through your roof and fishing heavy wires down through finished cabinets and insulated walls. They have provided the pathway, but you must still provide the engine.
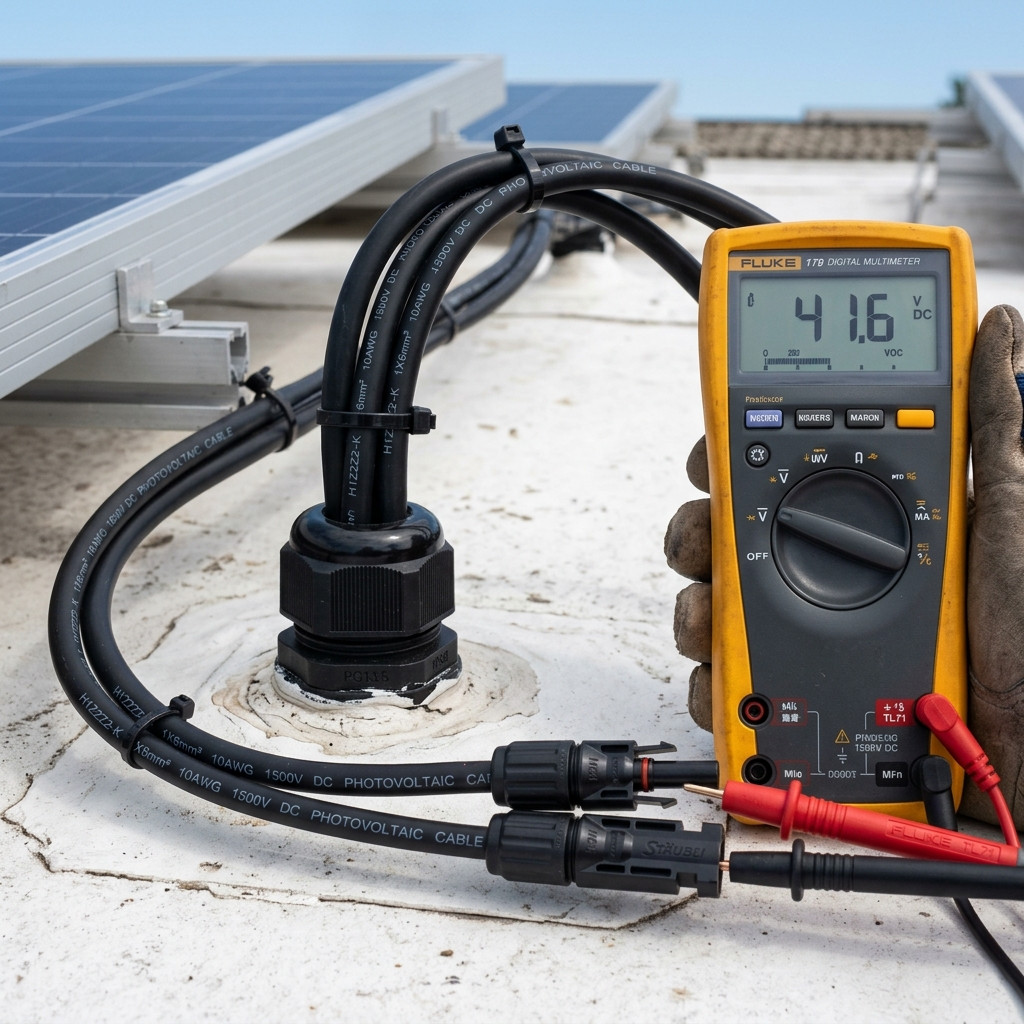
A standard factory prewired package typically includes only two things: a plastic entry port mounted on the roof or side of the unit, and a run of positive and negative copper wires leading down toward the battery storage area. Everything else required to generate and utilize solar electricity must be purchased and installed separately.
Troubleshooting Solar Charging or Dead Batteries?
If your battery reads 0V, follow the step-by-step Dead Lithium Battery Wake-Up Wizard to safely reset your BMS, or run through our interactive Solar Not Charging Diagnostic Wizard.
What Is Included vs. What Is Excluded
Before you purchase any equipment, you must inventory what your factory prewire actually provides. Attempting to plug solar panels directly into a prewired port without verifying the internal connections can lead to ruined batteries or electrical fires.
What You Actually Get:
- A Roof Gland or Side Port: A weatherproof plastic housing containing electrical terminals (usually MC4 connectors on the roof or an SAE two-pin plug on the side wall).
- Internal Copper Wiring: A pair of insulated wires (usually red and black, or white and black) running from the entry port into the living space or battery compartment.
- A Labeled Mounting Point: A sticker on an interior wall indicating where the wires pass through, showing you where to mount an aftermarket charge controller.
What Is Completely Missing:
- Solar Panels: The photovoltaic modules that collect sunlight and convert it into direct current (DC) electricity.
- Solar Charge Controller: The vital "brain" of the system that steps down high-voltage solar power to a safe charging voltage for your battery bank.
- An Inverter: The device that converts 12V DC battery power into 120V AC household electricity to run standard wall outlets and appliances.
- High-Capacity Battery Bank: Factory units typically ship with cheap, dealer-installed lead-acid batteries designed only for basic lighting, not extended off-grid living.
The Anatomy of a Prewired System: Roof Ports vs. Side Ports
Manufacturers generally use two different methods for solar prewiring, and they serve entirely different purposes. Many modern off-grid dwellings feature both options, allowing you to utilize different styles of solar harvesting.
The first and most common type is the roof-mounted prewire. This setup features a plastic entry gland sealed onto the roof membrane, housing one or more pairs of MC4 connectors. The wires from this port run down through a chase in the ceiling and walls, eventually terminating near the house batteries. This port is designed for permanent, high-output solar arrays.
The second type is a side-mounted port, often located near the front tongue or battery box. This is almost always a small, round, two-pin SAE connector. It is designed specifically for portable, temporary solar panels that you set up on the ground using a kickstand. When deciding between these two entry points, it helps to understand how roof-mounted vs portable RV solar panels perform in real-world living situations.
Understanding Wire Gauge: The Hidden System Bottleneck
The single most critical limitation of any factory prewired system is the thickness of the copper wire used by the manufacturer. Wire thickness is measured by American Wire Gauge (AWG). The smaller the gauge number, the thicker the wire, and the more electrical current it can safely carry over long distances.
Most RV manufacturers use 10 AWG wire for their solar prep packages. While 10 AWG is a high-quality wire for basic setups, it creates a physical bottleneck if you plan to build a large, high-wattage solar array. Over a typical 15-to-25-foot run from the roof to the battery compartment, thin wire causes voltage drop, which translates directly into lost power and reduced charging efficiency.
| Wire Gauge (AWG) | Max Safe Amperage | Max Watts (12V Nominal Array) | Max Watts (24V Nominal Array) |
|---|---|---|---|
| 12 AWG | 20 Amps | 240W | 480W |
| 10 AWG (Standard Factory) | 30 Amps | 400W | 800W |
| 8 AWG | 40 Amps | 500W | 1000W |
| 6 AWG (Premium Upgrade) | 55 Amps | 700W | 1400W |
If your system is prewired with 10 AWG copper, you can safely run about 400 watts of solar panels if they are wired in parallel (which keeps the voltage low at 12V to 18V but pushes current up toward 25 amps). If you want to expand beyond 400 watts on a 10 AWG prewire, you must wire your panels in series. This configuration increases the system voltage while keeping the amperage safely within the limits of the wire.
The Danger of the "Hidden Loop"
One of the most confusing and potentially dangerous aspects of factory prewiring is how the wires are routed inside the walls of your dwelling. Many owners assume that the wires run directly and continuously from the roof port straight to the battery terminals. They believe they can simply mount a solar panel on the roof, plug it in, and start charging.
Doing this can destroy your battery bank. If you connect a solar panel directly to a battery without a solar charge controller in between, the panel will send unregulated voltage (often 20V to 24V or higher) straight to your 12V batteries. This will quickly boil the electrolyte in lead-acid batteries or trigger the high-voltage shutdown on lithium batteries, potentially causing a fire.
To prevent this, manufacturers run the wire from the roof down to a designated interior wall location, loop it outward behind the wall cavity, and then run it down to the battery compartment. They cover this loop with a plastic plate labeled "Solar Charge Controller Prep." To make the system work, you must physically unscrew this plate, cut the looped wires, strip the insulation, and wire them directly into the input and output terminals of your newly purchased charge controller.
The Polarizing Truth About Side Ports (SAE Connectors)
If your dwelling features a side-mounted solar port, you must exercise extreme caution before plugging in a portable solar suitcase. Many of these side ports are wired using a proprietary polarity standard. The most common of these is the Zamp Solar standard, which is intentionally wired in reverse compared to standard off-the-shelf SAE connectors.
In a standard SAE connector, the exposed male pin is typically the negative terminal, while the shrouded female pin is the positive terminal. This design prevents the live positive wire from accidentally brushing against a metal frame and shorting out. However, some manufacturers reverse this configuration so that the exposed pin on the side of the dwelling is connected directly to the positive terminal of the battery.
If you plug a standard, non-proprietary portable solar panel directly into a reversed port, you will connect the positive output of your solar panel to the negative terminal of your battery. This reverse-polarity connection can instantly destroy your solar charge controller, blow high-amperage fuses, or damage your battery. Always use a digital multimeter to test the polarity of your side port before plugging in any external charging equipment.
How to Turn "Solar Ready" Into a Functional System
Transitioning your factory prewired dwelling from a marketing gimmick into a self-sustaining power station requires a systematic approach. To ensure you don't overload your factory wiring, review our complete beginner's RV solar checklist to map out your power needs safely.
Step 1: Locate and Verify the Wiring
Before buying components, locate both ends of your factory prewire. Check the roof port to see what connectors are installed (usually MC4). Then, locate the interior wall plate where the wire loop is housed, and find the wire terminals near your house batteries. Use a multimeter to perform a continuity test to ensure there are no breaks in the factory wire run.
Step 2: Choose and Install Your Charge Controller
Select a high-quality Maximum Power Point Tracking (MPPT) charge controller. MPPT controllers are far more efficient than older PWM controllers, especially when dealing with the higher voltages needed to bypass wire gauge limitations. Remove the interior wall plate, cut the prewired loop, and connect the wires coming from the roof to the "PV Input" terminals. Connect the wires leading to the battery to the "Battery Output" terminals.
Step 3: Mount Your Solar Panels
Mount your solar panels to your roof using brackets designed for your specific roof material (rubber, fiberglass, or metal). Once secured, plug the panel output cables into the factory roof gland. If you are using multiple panels, decide whether to wire them in series or parallel based on your charge controller's voltage limits and the factory 10 AWG wire restrictions.
Step 4: Connect and Fuse the Battery Bank
At the battery compartment, locate the ends of the prewired solar lines. Before connecting them to your battery bank, you must install an appropriately sized inline fuse or circuit breaker on the positive wire. This safety device protects your wiring and your dwelling from short circuits. Once the fuse is in place, connect the positive and negative leads to your battery terminals.
Pros and Cons of Factory Prewired Systems
While factory prewiring is incredibly convenient, it is not always the best choice for high-demand power users. Understanding the trade-offs will help you decide whether to use the factory wiring or pull new, thicker cables yourself.
The Advantages:
- Zero Structural Damage: You do not have to drill large holes through your roof membrane or ceiling panels, eliminating the risk of water leaks inside your living space.
- Saves Time and Labor: Fishing heavy wires through finished walls, behind showers, and around holding tanks is a grueling process that can take days. Prewiring bypasses this entirely.
- Preserves Resale Value: Factory-installed ports look clean, professional, and integrated, which appeals to future buyers who want a clean aesthetic.
The Disadvantages:
- Suboptimal Wire Sizing: The industry-standard 10 AWG wire limits your ability to run large parallel arrays, forcing you into series configurations that are more susceptible to shading issues.
- Confusing Routing: Tracking down the hidden loops, unlabeled junctions, and disconnected battery leads can sometimes feel like a treasure hunt.
- Proprietary Connectors: Dealing with reversed-polarity side ports or proprietary roof glands often requires purchasing specialized adapters.
Is Factory Prewire Right for You?
For the vast majority of off-grid dwellers, utilizing the factory prewiring is highly recommended. It provides a clean, safe, and leak-free entry point into solar power. If your daily energy needs are moderate—such as running LED lights, water pumps, fans, and charging personal electronics—the factory 10 AWG wiring is more than adequate to support a 300W to 400W system.
However, if your goal is to run high-draw appliances like residential refrigerators, microwaves, or air conditioners entirely off-grid, you will need a much larger system. In these high-power scenarios, you will likely need to bypass the factory prewiring entirely and run heavy 4 AWG or 2 AWG cables from your roof down to a dedicated electrical bay to handle the massive current required.
Frequently Asked Questions
Can I plug any solar panel into my "solar ready" port?
No. You must verify two things before plugging in any panel: the polarity of the port and whether a charge controller is installed. If you plug a standard panel into a prewired roof port without installing an inline charge controller first, you will send unregulated voltage directly to your battery, which can damage your electrical system.
Where do manufacturers hide the solar prewire loop?
The prewire loop is typically located behind a blank plastic plate on an interior wall, often labeled "Solar Ready" or "Go Power Prep." This plate is usually placed near the entry door, inside a kitchen cabinet, or near the main control panel. If you cannot find it, consult your manufacturer's wiring diagram.
What happens if I exceed the amperage limit of my factory prewire?
Exceeding the amperage limit of your factory prewire (usually 30 amps for 10 AWG wire) will cause the copper wire to heat up. This heat increases electrical resistance, leading to massive power loss. In extreme cases, overloading the wire can melt the insulation, causing a short circuit and a potential electrical fire.
Do I need an inverter if my system is prewired?
Yes, if you want to power standard household 120V AC wall outlets. Solar panels and battery banks operate on low-voltage DC power. The factory prewire only handles DC charging. To run household appliances like coffee makers, laptops, or microwaves, you must install an aftermarket inverter connected directly to your battery bank.